I thought I'd show you how I keep my mark. eyeshadows along with swatches of each. This is what the palette looks like:
It's made out of an old unlined journal I had laying around. I followed an online tutorial for hollowing out a book.
Now the inside looks like this:
Ghetto fabulous, I know. But I like having all my shadows in an open format like this. Plus, it was inexpensive! Here are the shadow names (sorry, some are discontinued!):
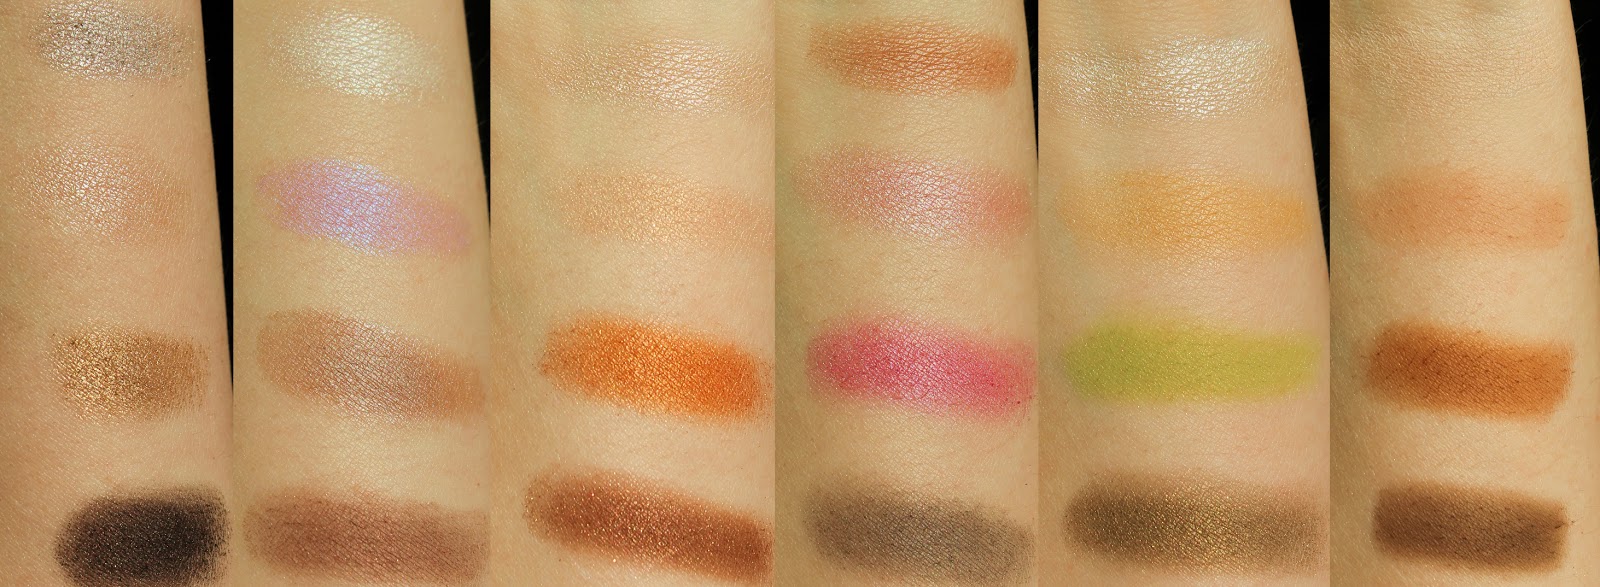
The two CoverGirl shades are singles that I pressed into empty mark. pans when they ran out. I'm not happy with the outcome and I will be purchasing two new mark. shadows to replace these. ...As soon as I can make up my mind which ones to get! Here are the swatches, same order as above:
I took these swatch pics in the sun, and as a result they are somewhat washed out. Many of the lighter colors are much prettier and more vibrant in person. Also, these were done dry on bare skin (no primer or base).
Update: I have posted pics of the new layout and swatches in
this post.
I'm not totally happy with the order of the colors, but thankfully that is easily remedied since all the colors pop out of the magnetized tray with the help of a paper clip:
I can also add them to my smaller magnetized palettes (like the ones that come from mark.) for an easy travel option.
Yes, that is Unii magnet you see! I had a sheet of it leftover so that is what I used, but if I hadn't had that, I would have just picked up some sheet magnet from the craft store since it's pretty cheap.
Well, that's it! I hope you enjoyed the little show -- please comment if you have any questions!


No comments:
Post a Comment